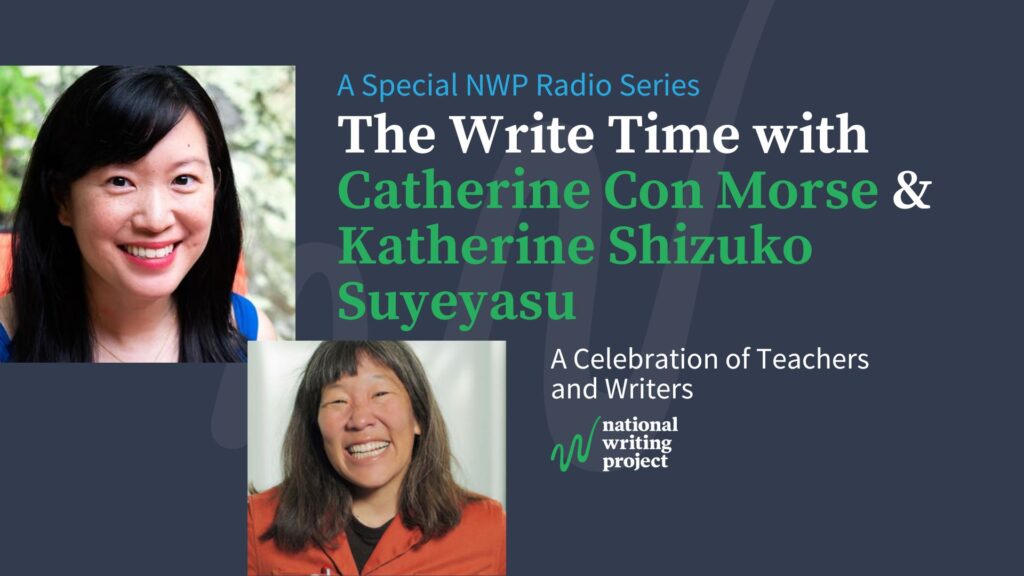
Catherine Con Morse’s debut novel, The Notes, is a 2025 Chinese American Librarians Association Best Book Honorable Mention for Young Adult Fiction, a 2026 Panda Book Award nominee, and was shortlisted for the CRAFT First Chapters contest. Her newest book is The Summer I Remembered Everything (April 2025). A Kundiman fellow, Catherine received her MFA from Boston University, where she taught undergraduate creative writing for several years. Her work appears in Joyland, Letters, HOOT, Bostonia, and elsewhere, and has been a finalist for the Beacon Street Prize and the Baltimore Review fiction prize. While writing The Notes, she was one of the inaugural Writers in Residence at Porter Square Books, where she enjoyed writing in the back office and eating croissants with her cafe discount.
In high school, Catherine attended the South Carolina Governor’s School for the Arts and Humanities, a public arts boarding school, where she was as intrigued with her teacher as Claire is with Dr. Li. Catherine continues to play and teach piano today. Most recently, she taught English at Choate Rosemary Hall, and lives in the Connecticut River Valley with her husband and daughter.
Katherine Shizuko Suyeyasu brings 25 years of experience teaching in Oakland, Berkeley, Union City, and the Philadelphia area at the upper-elementary, middle, and graduate school levels. The majority of her teaching career allowed her to work with and learn from multilingual middle schoolers in the Humanities classroom. She is currently a co-director of the Bay Area Writing Project.
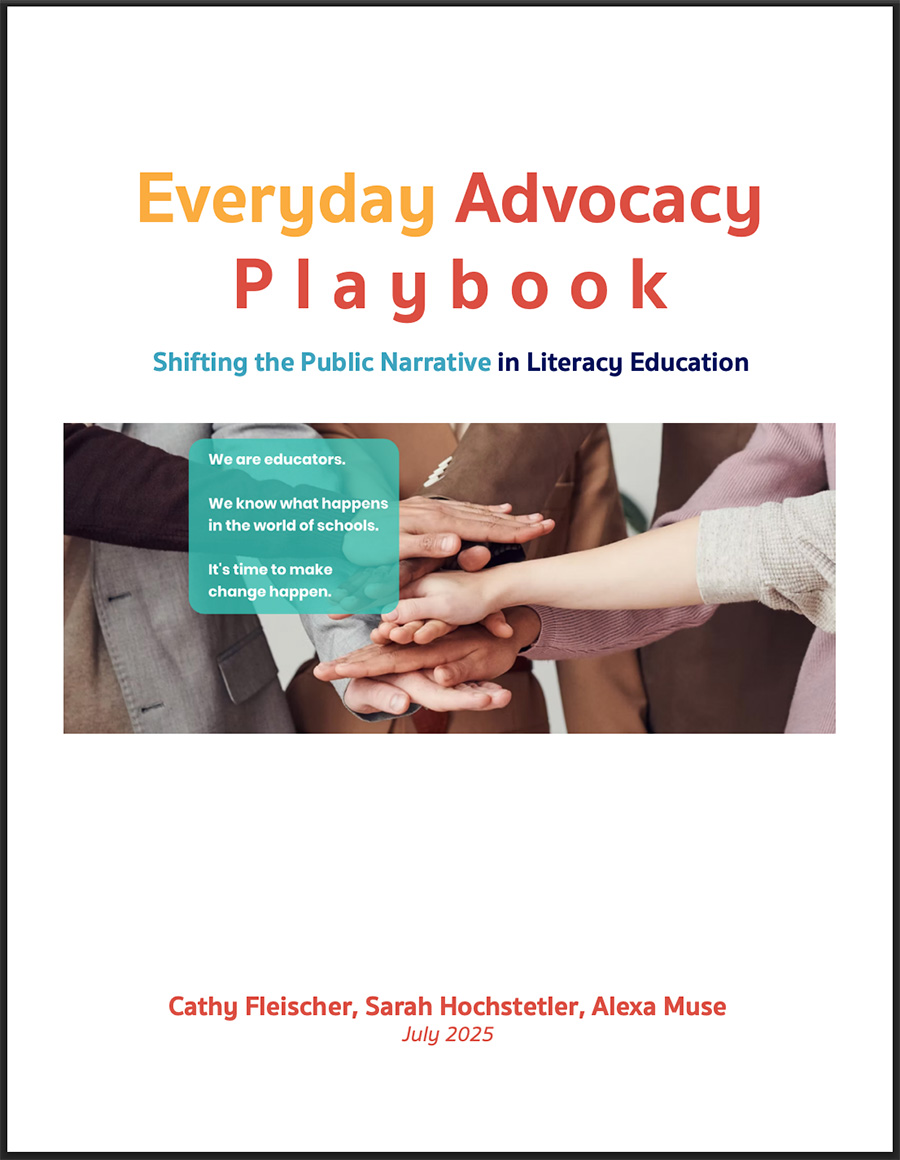
“Whether you’re working through this playbook on your own, in a small group, or as part of a larger team, you’ll find a practical guide with lots of concrete examples and options for learning from others about how to take up the Everyday Advocacy framework. We’ve included links to audio, video, and written mentor texts to support you in your critical efforts to change the narrative in education. Don’t forget to preview the Appendices which offer a rich look into how teachers have created action plans. And while you could print a copy for yourself, we’ve intended the playbook to be used digitally.”
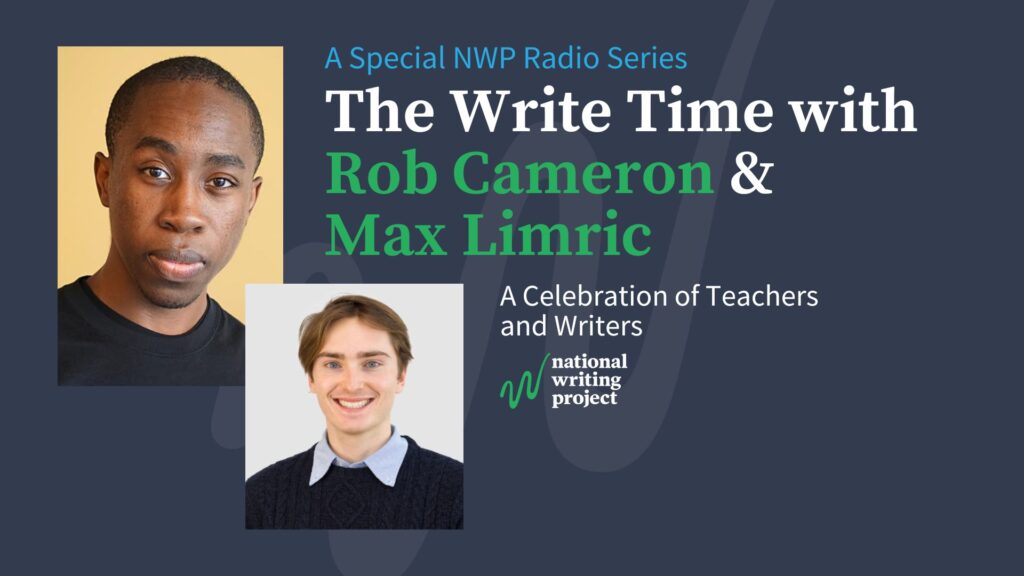
Cameron Roberson, who writes under the pen name Rob Cameron, is a teacher, linguist, and writer. Rob is also lead organizer for the Brooklyn Speculative Fiction Writers and founder of Constellations Mentorship for the Octavia Project. He has poetry, stories, and essays in StarLine*, The Magazine of Fantasy & Science Fiction, Foreign Policy Magazine, Tor.com, New Modality, Solarpunk Magazine, Apex, Clockwork Phoenix Five, Lightspeed, and others. Daydreamer, his debut middle grade novel, is a finalist for the Andre Norton, the Nebula award for middle grade and YA.
Max Limric is a pre-service teacher in elementary education entering a co-teaching year at Greens Farms Academy in Westport, Connecticut. He became interested in the power of children and young-adult texts while taking classes at Fairfield University, and further learned the power of literature when attending and presenting at the annual conference of the National Council of English. He grew up with speculative stories, being brought into the worlds of Harry Potter and The NeverEnding Story, and looks forward to unlocking their potential in his future classroom.
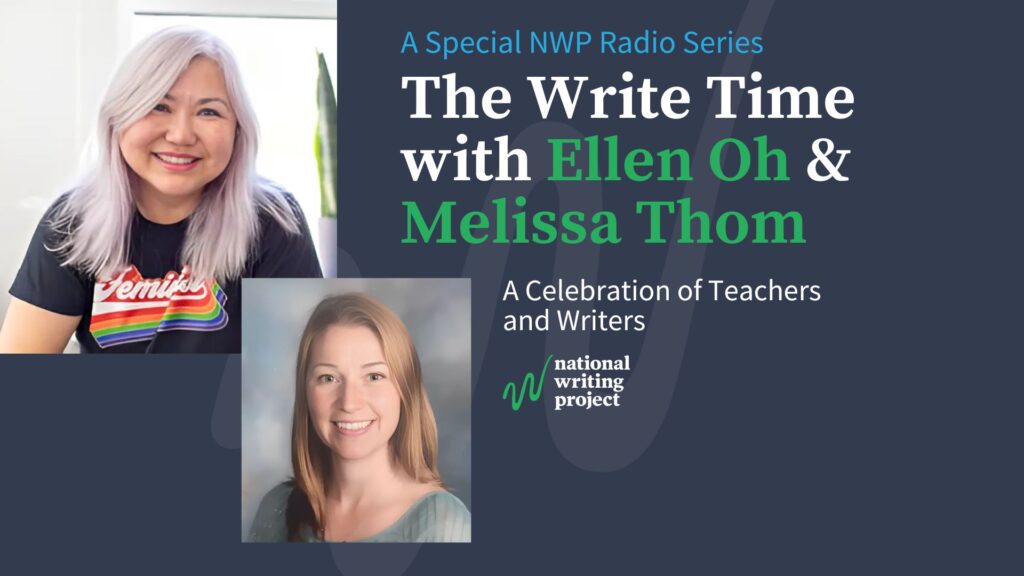
Melissa Thom, MA, (she/her) is a teacher librarian at Bristow Middle School in West Hartford, CT. She has been an educator for 22 years and is the immediate past President of the Connecticut Association of School Librarians (CASL). She was a 2019 AASL Social Media Superstar Reader Leader finalist and a Library Journal Mover and Shaker in 2022. In her free time, she sews #LiteracyInspiredCrafts for her Joyful Making Etsy Shop.
I was in my house alone with a serial killer that haunted my childhood.
I grew up on mythology, epic films, and lots of books.
How can I not write?
In The Halloween Tree, Ray Bradbury wrote about cavemen waiting in shelter for winter to end. Watching the embers of the fire float, the reflection of the wolves’ eyes just outside the firelight, and being haunted by ghosts. Ghosts of memories, ghosts of people gone without time to mourn, ghosts of things of our past. That’s why I write. Memories and a constant nagging feeling of what if?
I grew up with thunder. We had a 30-foot church steeple in front of our house and a TV station behind us with lightning rods protecting their radar. There would be an intense flash of light, air split overhead, then thunder rattled the entire house. I hated thunderstorms and lived in the very active Midwest.
When I was seven, I had two big fears in life, storms and a serial killer that was near where my grandmother lived. One year, we went to the lake on Memorial Day. It had been a stormy night and we had already been to the shelter earlier. The storm grew quiet. We made the mistake of relaxing. As everyone in the Midwest knows, the quiet of a storm is a dangerous thing. A TV meteorologist came on with a tornado warning. It was at the lake and heading right for us. The sun had already gone down and our only light was frequent lightning. We ran for the shelter as it went over the dam that protected our campground. We lost power, people panicked, and I hid in the shelter’s corner thinking this was it.
In the panic of the storm, my father picked me up and took me outside. His infamous words were, “Look at that”. It was dark, but lightning illuminated a wedge tornado with two satellite tornados that hit a nearby town. Something broke in me and my fear became a fascination with weather. Storms will find their way into my stories.
I have always been a creative individual. I grew up on mythology, comic books, and films like Star Wars, Flash Gordon, and Star Trek. On Thanksgiving, I watched the strangest cartoons of the Hobbit and Lord of the Rings. When I would get together with friends, we would recreate these scenes. A snowy playground was the Battle of Hoth, a stormy sky giving background to a sci-fi movie or an epic quest, and as some of my friends hated, waiting for the quiet times and the right atmosphere for me to tell a good spooky story.
A high school teacher challenged me to enter a writing contest. I wrote a vampire short story, that she submitted, and laughed saying it was good, but the people reading it would not understand it. It didn’t win but I had created something.
Years later at my first house, having a squabble with landlords over a hot water heater, I had the local city inspector look at it. He was a man of no laughs, straight business, and no personality. Years later, I watched on live TV as he was captured, then his subsequent trial about the BTK, his inner demons, and why he killed all those people. This was my boogie man growing up and I survived my encounter with him.
These are the ghosts of memories in my head.
Since then, I have published poetry, short stories, and have my third novel coming out soon. I finished my fourth book this last year as well. My characters tend to be tragic, storms weave their way into my books, mythology and folklore edge their way in, and yes, there is evil.
Without the National Writing Project and the Flint Hills Writing Project, I wouldn’t have finished my second novel, and third, and fourth. It has given me a group of people like me, teachers, curious and creative folk, to meet with, discuss, and unload all those ghosts in our minds while keeping the wolves, just at the edge of firelight, at bay.
“My breakthrough revealed to me how centering joy is an asset-based approach to classroom instruction, a way to celebrate and amplify the linguistic, navigational, familial, and aspirational wealth that students from historically marginalized groups possess. When I sustain a focus on centering joy, I am also implementing a trauma-informed approach to instructional design, allowing laughter and natural curiosity to heal the wounds of traditional academia’s overly assimilative process, a process that favors objectivity and competition, a process that cultivates fear.”
00:00 – Introduction/Systems Thinking with Richard Beach and Fawn Canady
Richard Beach and Fawn Canady discuss chapter two of the book, focusing on how to engage students in critiquing and transforming systems impacting the climate crisis. Learn how students can use writing to examine how fossil fuel energy, capitalist economic structures, agriculture, transportation, urban design, and political systems need transformation to address our changing climate.
26:52 – Critical Media Literacy with Jeff Share, Andrea Gambino, Amber Medina, and Noah Asher Golden
This segment explores the intersection of critical media literacy and environmental justice/climate education. Our guests explain why climate change is not merely a scientific problem but an issue of priorities and narratives. Discover how educators can help students understand how dominant cultural stories contribute to our climate crisis and how we can change these narratives to create more sustainable and socially just futures.
50:04 – Writing of All Kinds with Allen Webb and Rich Novack
Allen Webb and Rich Novack share diverse writing approaches that empower students to engage with climate issues through creative expression, persuasive writing, research, and more. Learn practical strategies for incorporating climate-focused writing across the English language arts curriculum.
Tina Cane is the founder/director of Writers-in-the-Schools, RI, and, from 2016-2024, served as the Poet Laureate of Rhode Island where she lives with her husband and three children. In her capacity as poet laureate, Cane established her state’s first youth poetry ambassador program in partnership with Rhode Island Center for the Book, and brought the Poetry-in-Motion program from the New York City Transit System to Rhode Island’s state-wide buses. Cane is the author of The Fifth Thought, Dear Elena: Letters for Elena Ferrante, poems with art by Esther Solondz (Skillman Books, 2016), Once More With Feeling (Veliz Books 2017), Body of Work (Veliz Books, 2019), and Year of the Murder Hornet (Veliz Books, 2022). In 2016, Tina received the Fellowship Merit Award in Poetry from the Rhode Island State Council on the Arts. She was also a 2020 Poet Laureate Fellow with the Academy of American Poets. Her debut novel-in-verse for young adults, Alma Presses Play (Penguin/Random House) was released in September 2021. Cane is also the creator/curator of the distance reading series, Poetry is Bread, and the editor of Poetry is Bread: The Anthology (forthcoming from Nirala Press, 2024). Her second verse novel for young readers, Are You Nobody Too? (Penguin/ Random House) was released in August 2024.
Janelle Bence is a high-school English teacher with 24 years of experience teaching in Texas. Her favorite project is a Spoken Word event where freshmen support a local non-profit of their choosing. She is a longstanding member of the National Writing Project and enjoys collaborating with researchers to deepen her praxis. Currently, two projects she is working on are Transdisciplinary Civic Composing Collective (UT Austin) and Colorado State Sustainable Teaching and Learning (Colorado State University). Her writing is published in Civics for the World to Come: Committing to Democracy in Every Classroom (Mirra & Garcia, 2023) and Teaching for Equity, Justice, and Antiracism with Digital Literacy Practices (Edited By Meghan E. Barnes, Rick Marlatt).
Mahogany L. Browne is a Kennedy Center Next 50 fellow, writer, play-wright, organizer, and educator. Browne received fellowships from ALL ARTS, Arts for Justice, AIR Serenbe, Baldwin for the Arts, Cave Canem, Poets House, Mellon Research, Rauschenberg, and Wesleyan University. Browne’s books include A Bird in the Air Means We Can Still Breathe, Vinyl Moon, Chlorine Sky (optioned for Steppenwolf Theatre), Black Girl Magic, and banned books Woke: A Young Poet’s Call to Justice and Woke Baby. Founder of the diverse lit initiative Woke Baby Book Fair, Browne is the 2024 Paterson Poetry Prize winner. She is the inaugural poet in residence at the Lincoln Center and lives in Brooklyn, New York.
Yolanda Sealey-Ruiz, Ph.D. (she/her), is a Professor of English Education at Teachers College, Columbia University. Her poetry collections, Love from the Vortex & Other Poems (2020) and The Peace Chronicles (2021), explore themes of love, healing, and growth toward liberation. She is co-author of the multiple award-winning Advancing Racial Literacies in Teacher Education: Activism for Equity in Digital Spaces (2021). In 2024, Yolanda was recognized for her scholarship with the Dorothy Height Distinguished Alumni Award from NYU. She has been named to EdWeek’s EduScholar Influencers list four years in a row, placing her among the top 1% of educational scholars in the U.S. At Teachers College, Yolanda founded the Racial Literacy Project @TC, fostering dialogue on race and diversity for over 17 years.
Watch the Video
About The Write Time
The Write Time is a special series of NWP Radio, a podcast of the National Writing Project (NWP), where writing teachers from across the NWP Network interview young-adult and children’s authors about their books, their composing processes, and writers’ craft. You can view the archive at https://teach.nwp.org/series/the-write-time/.
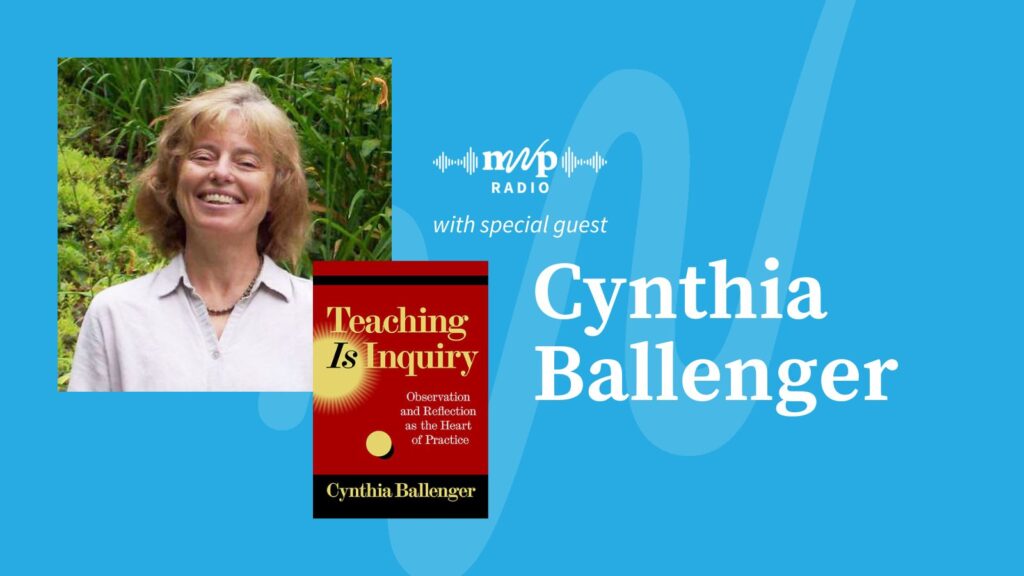
Ballenger shares her teaching journey and the core ideas in her book about the power of inquiry-based learning, which encourages teachers to honor students’ unexpected questions and ideas as opportunities for deeper exploration. Ballenger also discusses the challenges teachers face in maintaining time for reflection and collaboration, as well as the importance of fostering democracy and inclusion in the classroom.
Log in or register to bookmark your favorite content
You'll be redirected back here after logging in or registering.